Reclaimed Trusses | The Dog House | 24' x 48' Storage Build | Ep 6
- MR Post Frame

- Apr 15, 2024
- 3 min read
Hey everyone, welcome back to MR Post Frame! Today, we're diving into Episode Six of the Dog House build series, where I'll be sharing the progress on my personal 24x48 storage shed. This project is essential for clearing out my garage clutter, so let's get started with covering trusses and purlins.
But before we jump in, I want to mention that if you're interested in designing your own Barndominium, our Back Forty Building Company now offers design services. Simply check out the link in the description to get in touch with us and start your design journey.
Additionally, for those of you who are self-builders or considering self-contracting your project, we have a dedicated Patreon group where you can join a community of like-minded individuals, ask questions, and access live Q&As.
Now, let's dive into Episode Six!
Reclaimed Trusses:

First up, let's talk about trusses. I've been modifying them to ensure they're all in a plane, with a consistent 4/12 pitch. By adding plywood gussets and reinforcing with sturdy lumber, these trusses are rock solid and ready to handle any roofing material. I've also documented the process of adjusting the trusses to fit perfectly into the 24-foot width of the shed, ensuring a precise and secure fit.
New Trusses:
In addition to modifying existing trusses, I've also been busy making new ones. Using 2x10 top cords and 2x8 bottom cords, I've carefully cut and assembled each component to ensure they're structurally sound and meet the required dimensions. This process involves precise measurements and cuts to achieve the desired 4/12 pitch and overall length of 24 feet.
Overhang Jacks:
To achieve the desired overhang, I've been installing overhang jacks along the trusses, ensuring they're properly positioned and secured to support the roof's edges. This step is crucial for providing additional protection from the elements and enhancing the overall aesthetics of the shed.
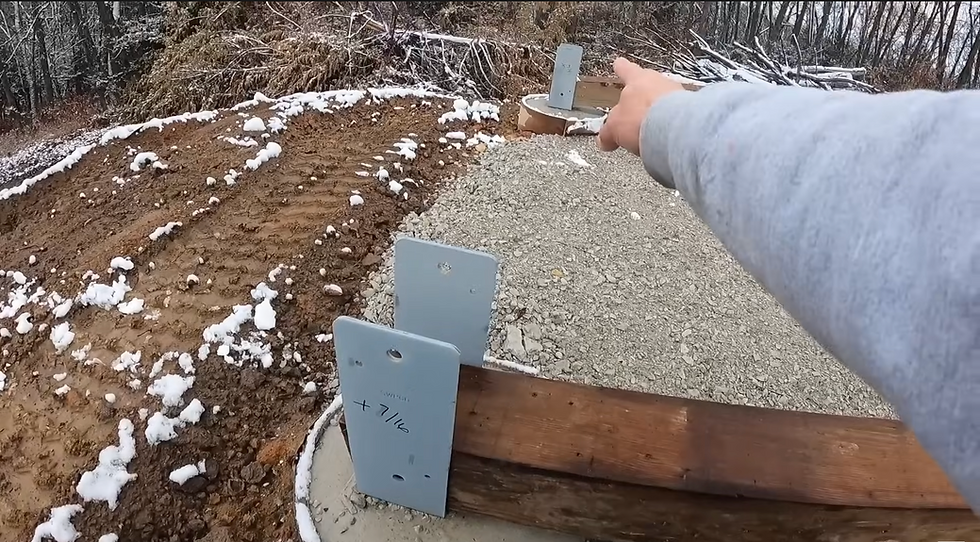
Stub Columns:

For additional support, especially around door openings, I've installed stub columns. These columns provide extra stability and reinforcement, ensuring the structural integrity of the shed. By carefully measuring and positioning the columns, I've created a solid foundation for the trusses and other components.
Lift + Secure Wall:
With the main structural components in place, it's time to lift and secure the walls. This process involves carefully positioning and aligning the walls to ensure they're level and properly supported. By securing the walls in place, we're one step closer to completing the shed's framework and moving on to the next phase of construction.
Grade Board:

Next, I've added the grade board to the top of the walls. This board serves as a solid base for attaching the roofing materials and ensures a level surface for the purlins. By carefully measuring and installing the grade board, we're preparing the shed for the final stages of construction.
Purlin Template:
Now, onto the purlins. I've created templates to ensure consistency in placement, making it easier to install them evenly across the roof structure. These templates serve as a guide for positioning the purlins, ensuring they're properly aligned and securely attached to the trusses.
Purlins:
Using the templates, I've begun installing the purlins. This step involves carefully positioning each purlin to ensure proper overlap and attachment to the trusses. By securing the purlins in place, we're adding additional support and stability to the shed's roof, ensuring it can withstand the elements for years to come.
Conclusion:
And there you have it! The progress on my personal storage shed is coming along nicely, with each step carefully planned and executed to ensure a sturdy and functional structure. Stay tuned for the next episode as we continue to build and make progress on this project. Thanks for watching, and don't forget to subscribe for more updates!
Thank you,
MR Post Frame

Patreon Group:
Interested in tackling your build on your own? If you want to explore the possibility of being your GC or self-building, our Patreon membership is for you! It's a community of like-minded people offering support, discounts, Q/A, and more.


Comments